

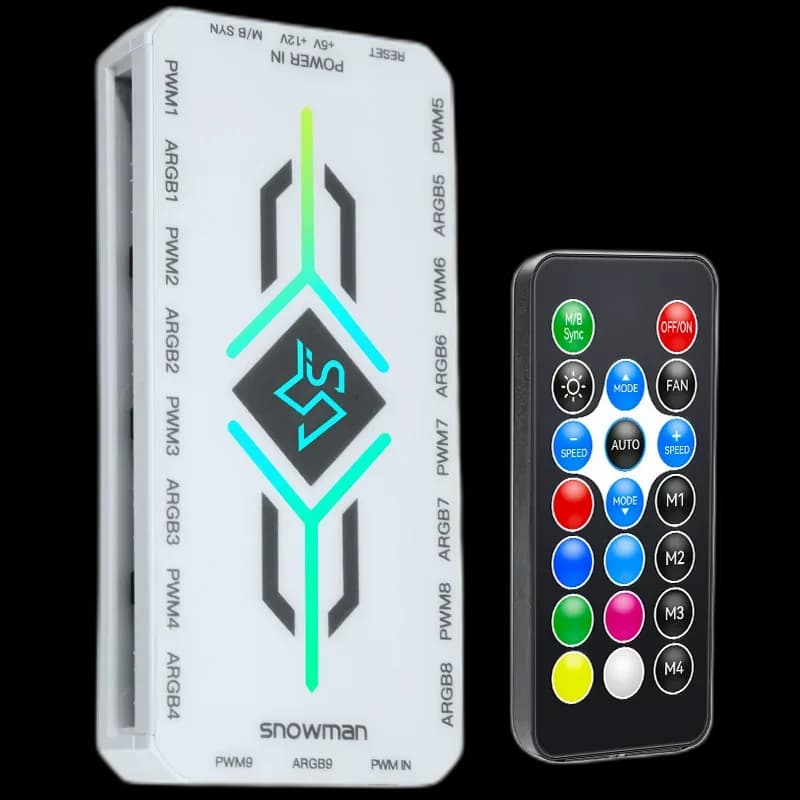
Snowman ARGB & PWM hub: tidy wiring you can still reach
The last stage of a build often takes place behind the side panel. This Snowman hub combines ARGB and PWM connection management with magnetic mounting and an included remote, helping you organise the wiring before the case is closed.
Choose a position around the cables
Try a suitable steel mounting surface near the cables’ natural routes. Check the clearance with the side panel in place and leave room to unplug individual leads. Magnetic mounting is most useful when it lets you adjust the layout before the final tidy-up.
Identify lighting and motor connections
An illuminated fan can have separate leads for its light and its motor. ARGB and PWM perform those different jobs. Read the hub’s labels and compare the connectors on your fans before connecting them; proprietary plugs may require a different controller.
Test the controls before hiding the hub
Keep the remote accessible and test the supplied functions during setup. Confirm that the fans run and that compatible lighting responds before securing the wiring. Check the actual hub’s port count and electrical limits against the devices you plan to attach.
Make future changes straightforward
Leave a little slack near the hub and label similar cables by position, such as front or rear. A later fan replacement becomes easier when you can follow one lead without dismantling the entire bundle. This hub suits a build where orderly wiring matters as much as the visible lighting.